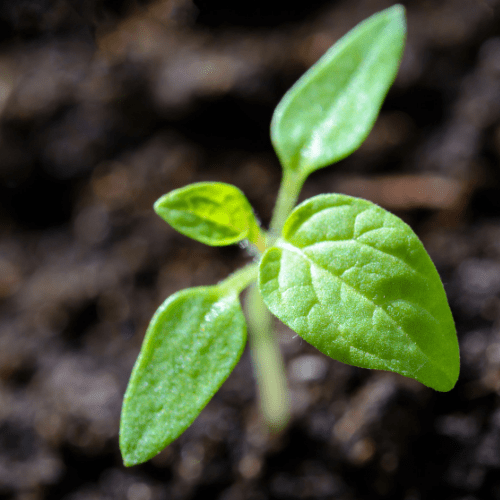
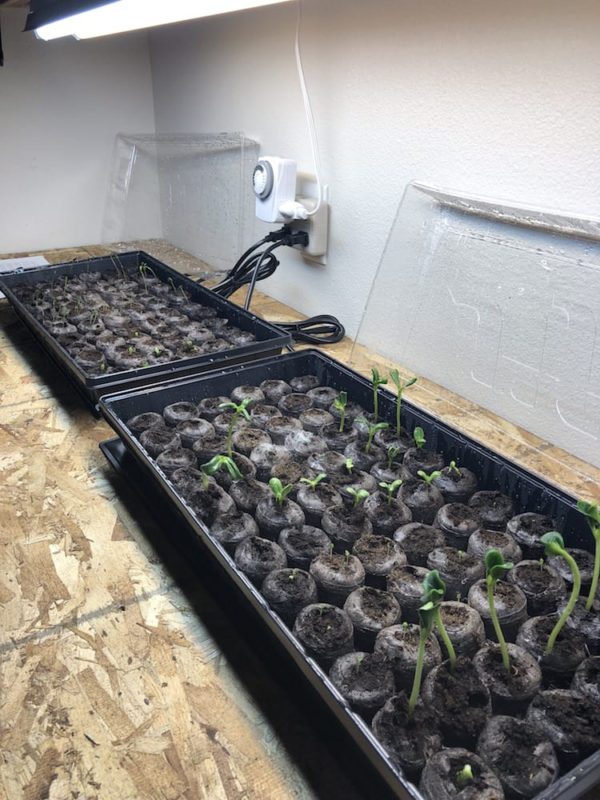
Seedling Success! Easy Secrets to Fast, Healthy Sprouts – Every Time

You May Also Like
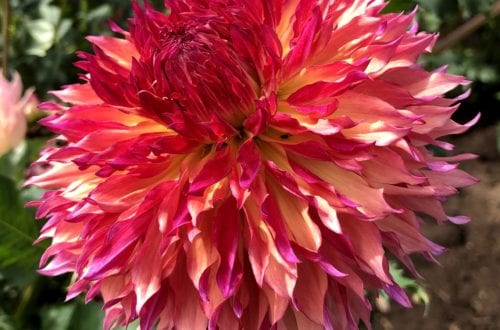
Do Deer Eat Dahlias? Controlling Pests Who Love Your Flowers
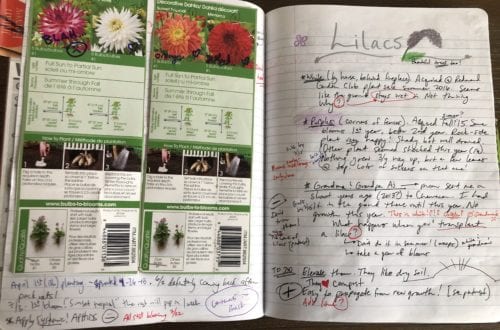
Tools Used for Gardening – Why You Need A Garden Journal
